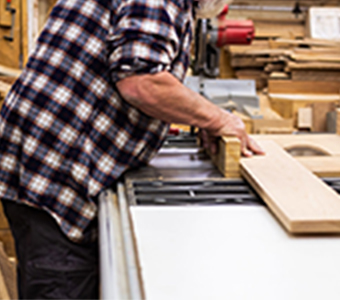
To build the perfect box, we start with a board and decide which box we want to make. Then Rod preps the board by making it flat on one side and on one edge using the jointer. Once it is flat on one side he takes it to the planer and make it flat on the other side.
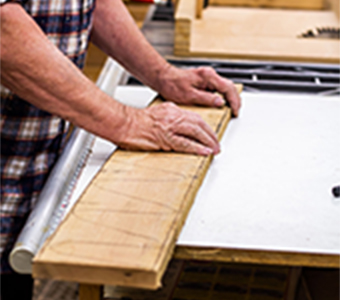
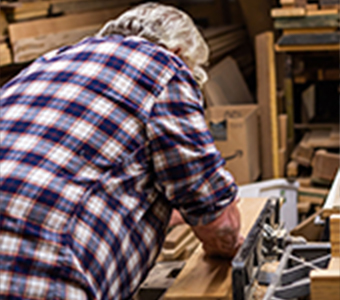
The board then needs to be cut into the right length prior to gluing up the block. Rod does this on the table saw.
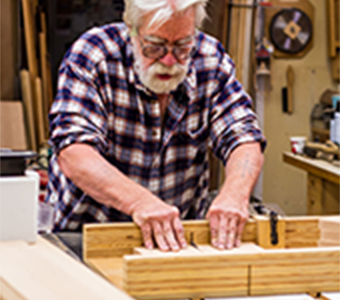
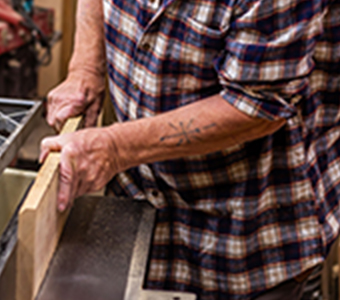
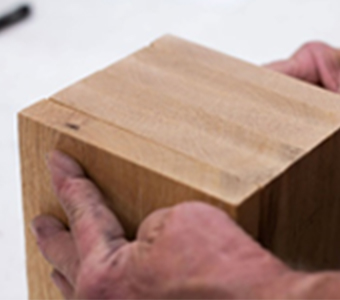
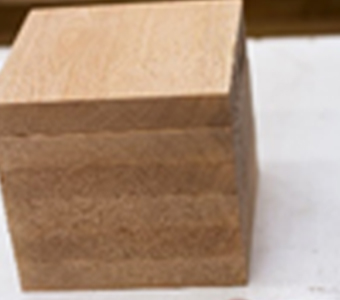
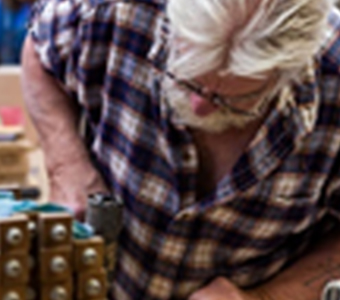
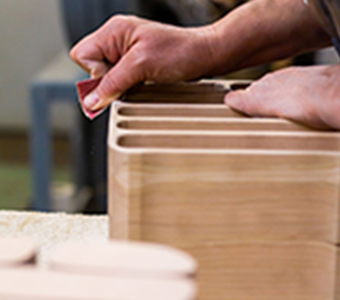
Next step is glue up. The small pieces need to be prepped for glue by taking any fuzzy edges off with a quick swipe of sandpaper. Then Rod checks to make sure there are no gaps by fitting the pieces together in a dry run.
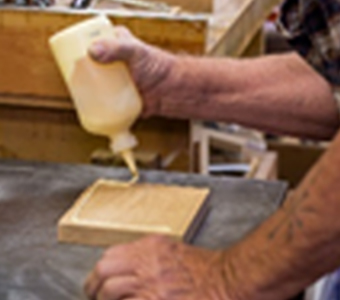
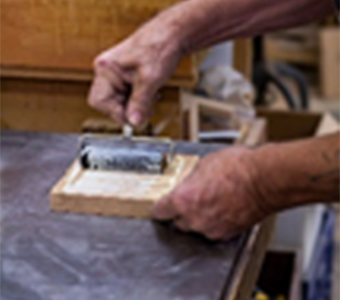
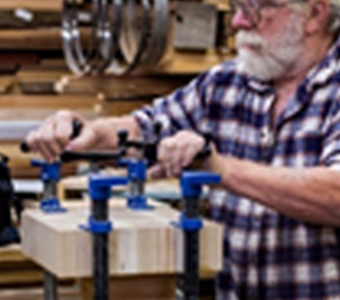
Over the years, Rod has come up with lots of little tricks to make clue up easier. He uses a roller to make sure the glue is spread evenly and pins the corners so the pieces don’t slide. Once all the pieces are glued he takes it to the clamp. This is a clamp he designed to create even pressure. The block sits in the clamp for about 12hours.
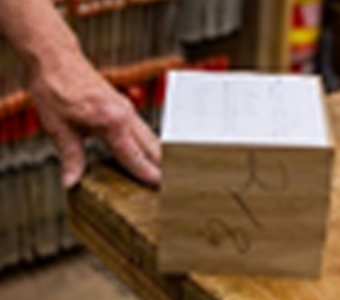
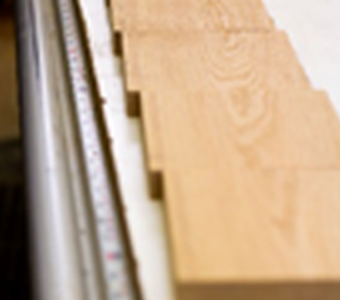
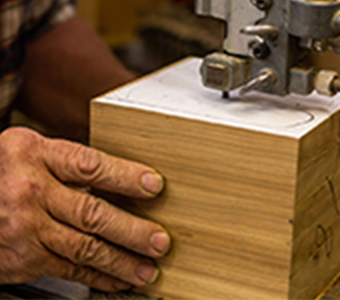
The pattern is applied with an adhesive that holds up through the cutting process and is removed before final sanding. We do all our own design and have over 50 different patterns we have created over the past 17 years.
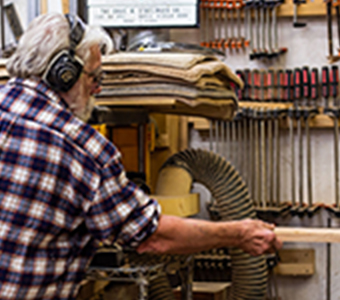
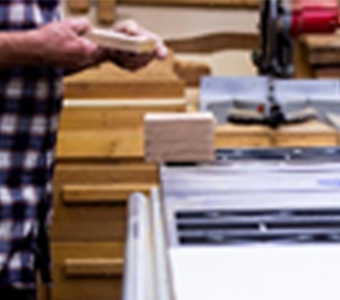
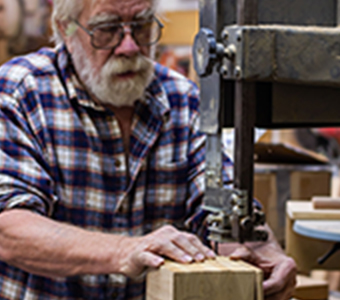
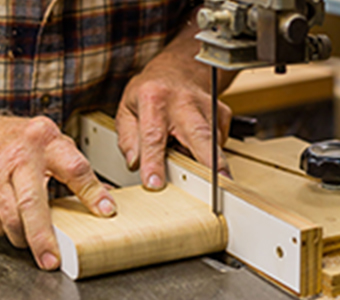
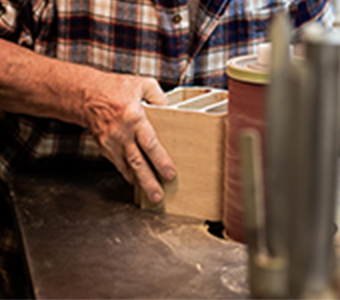
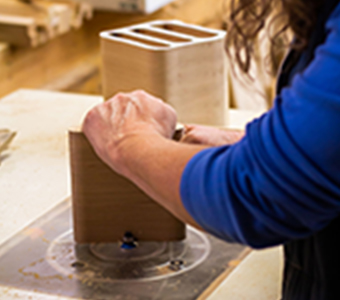
Now, we are ready for the fun part, cutting out the drawers and the outside shape. We use the bandsaw for most of the process and have 4 saws set up for various cuts, saving time.
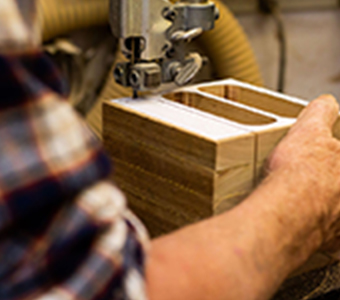
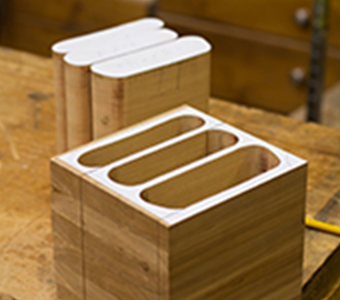
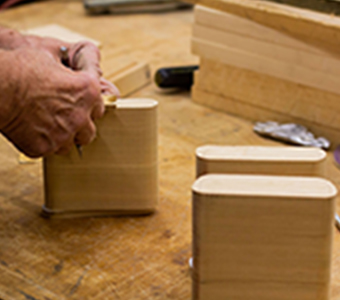
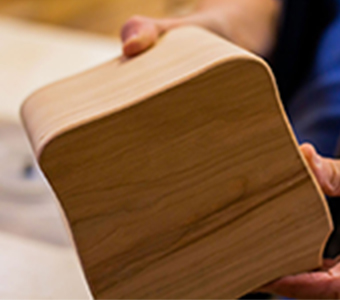
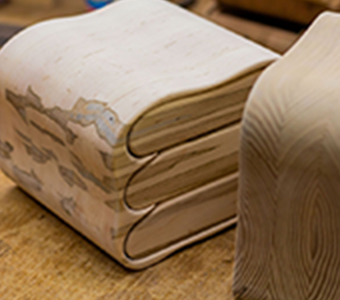
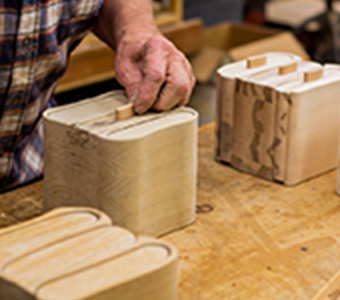
First Rod removes the back of the block and saves it for later. Then he moves to a different band saw to remove the drawers. Finally, he removes the outside. Once the drawers are removed, the cuts are glued and clamped creating a smooth line that makes people think we are magic.
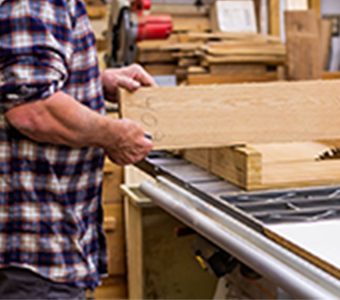
The drawers follow the same routine. Cut off the fronts and backs, mark the curves, and remove the “guts”. Those guts are set aside to be used in small, one-drawer boxes, and in trays. The fronts and backs are then glued back on.
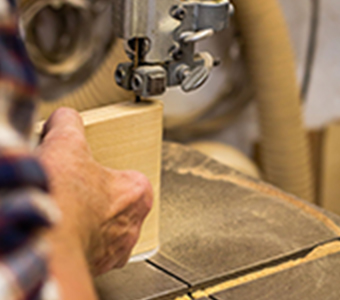
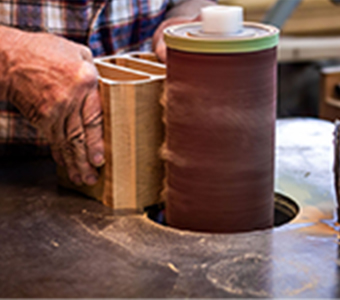
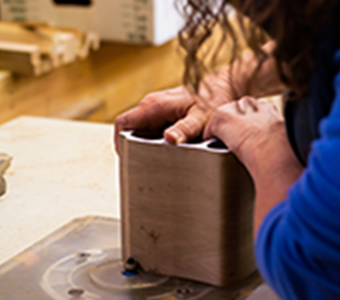
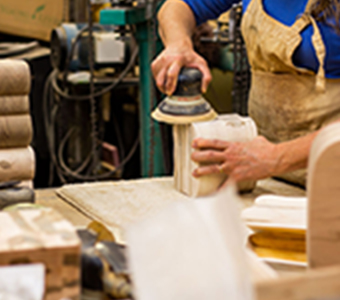
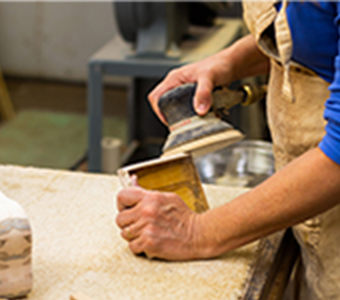
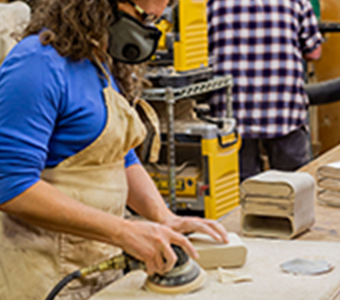
Sanding comes next. Rod takes the carcase and the drawers to the oscilating spindle sander. One of the things that set up apart is that our sander is industrial and larger than home shop sanders. This means we can make boxes that are larger and deeper.
Once the coarse sanding is done, Lesli takes over and works her magic.
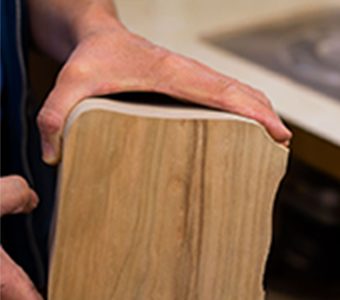
First, she removes the pattern and routers the edges of the box and drawers. This softens the look and makes it easier to sand.
Then the final hand sanding is done. She uses her hands and several small power sanders with different grits of sandpaper, again this saves time as the sandpaper doesn’t have to be changes as often.
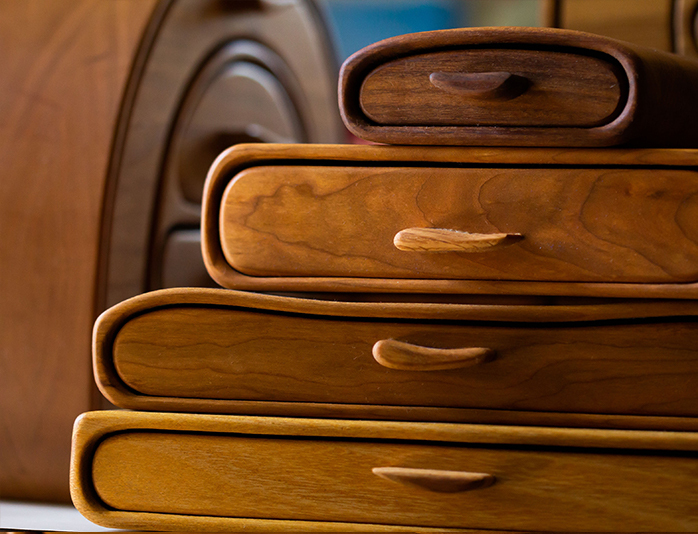
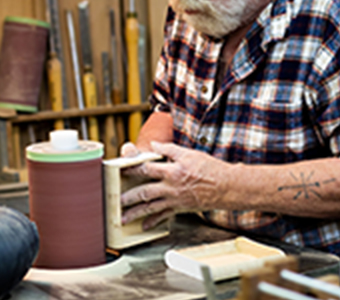
Once the boxes are sanded to Lesli’s specs the handles are glued on. Walnut oil is used to finish each box and bring out the grain and beauty of the wood.
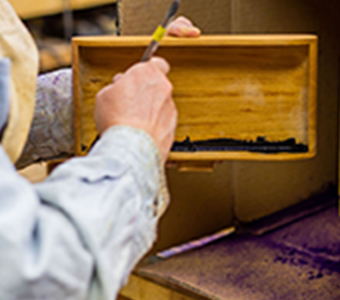
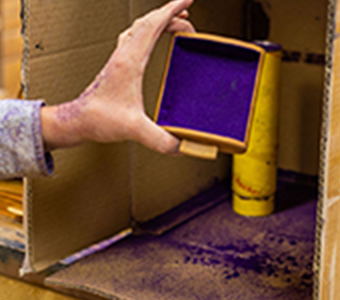
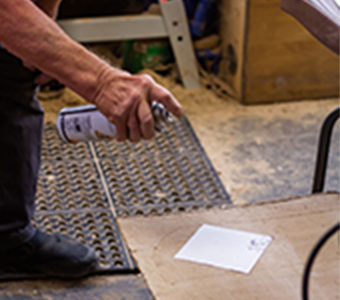
Finally, flocking is applied to the insides of the drawers to protect the treasures that will be placed inside. First an adhesive is painted on, then the flocking is blown in. This sits 10 to 12 hours and the excess is dumped out to be collected and used later.